이클립스와 Git 원격저장소 연동하는 방법과 프로젝트를 내려받는 방법에 대해 알아보도록 하겠습니다.
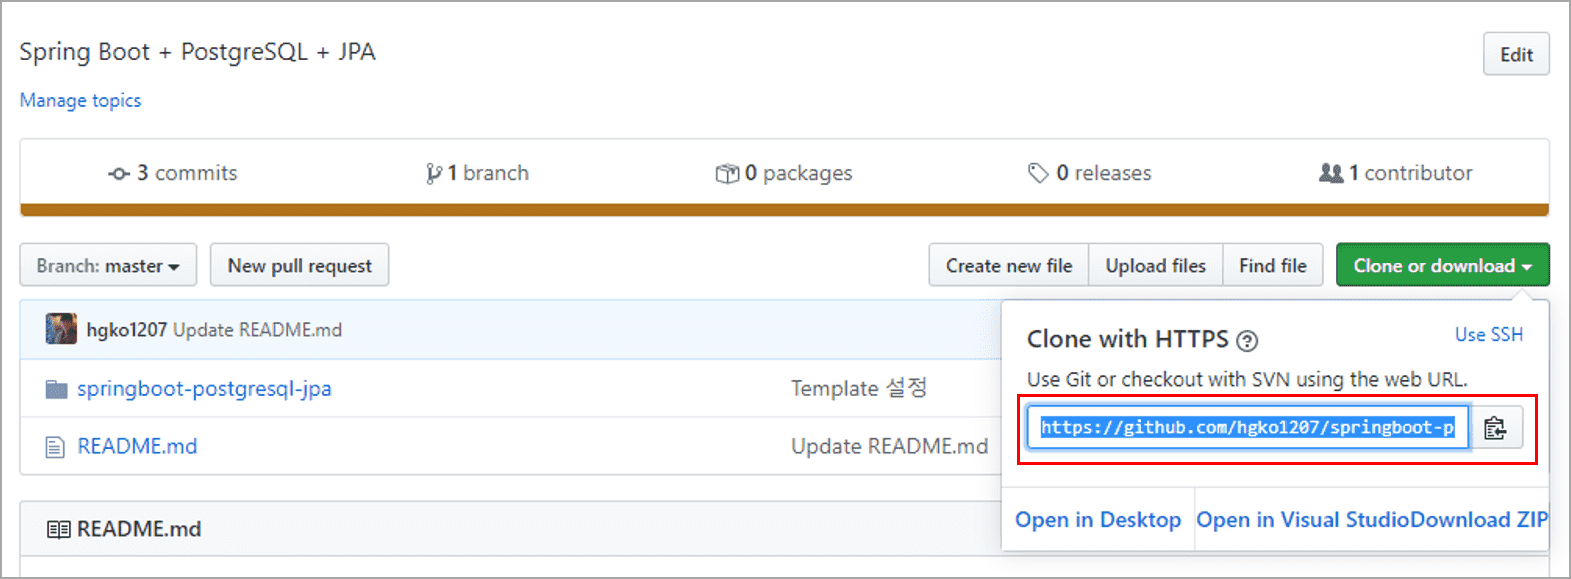
1. 원격저장소 주소 복사
먼저 github 사이트에서 생성한 저장소의 주소를 복사합니다.
2. 이클립스 실행
이클립스를 실행하고 오른쪽 위에 퍼스펙티브 버튼을 클릭하면 창이 보입니다.
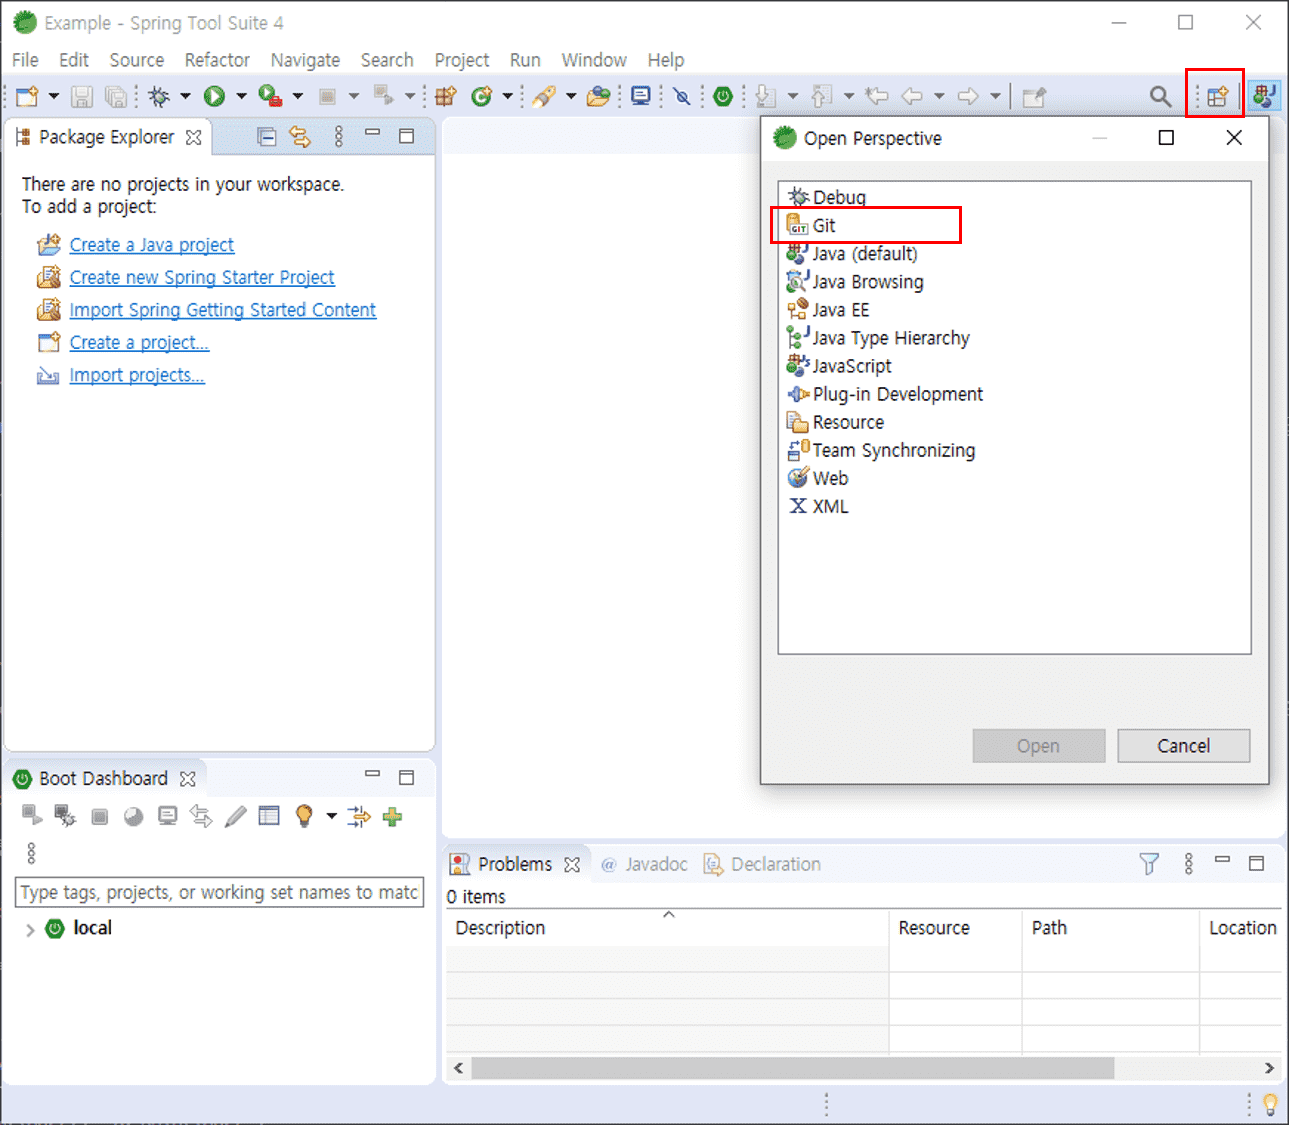
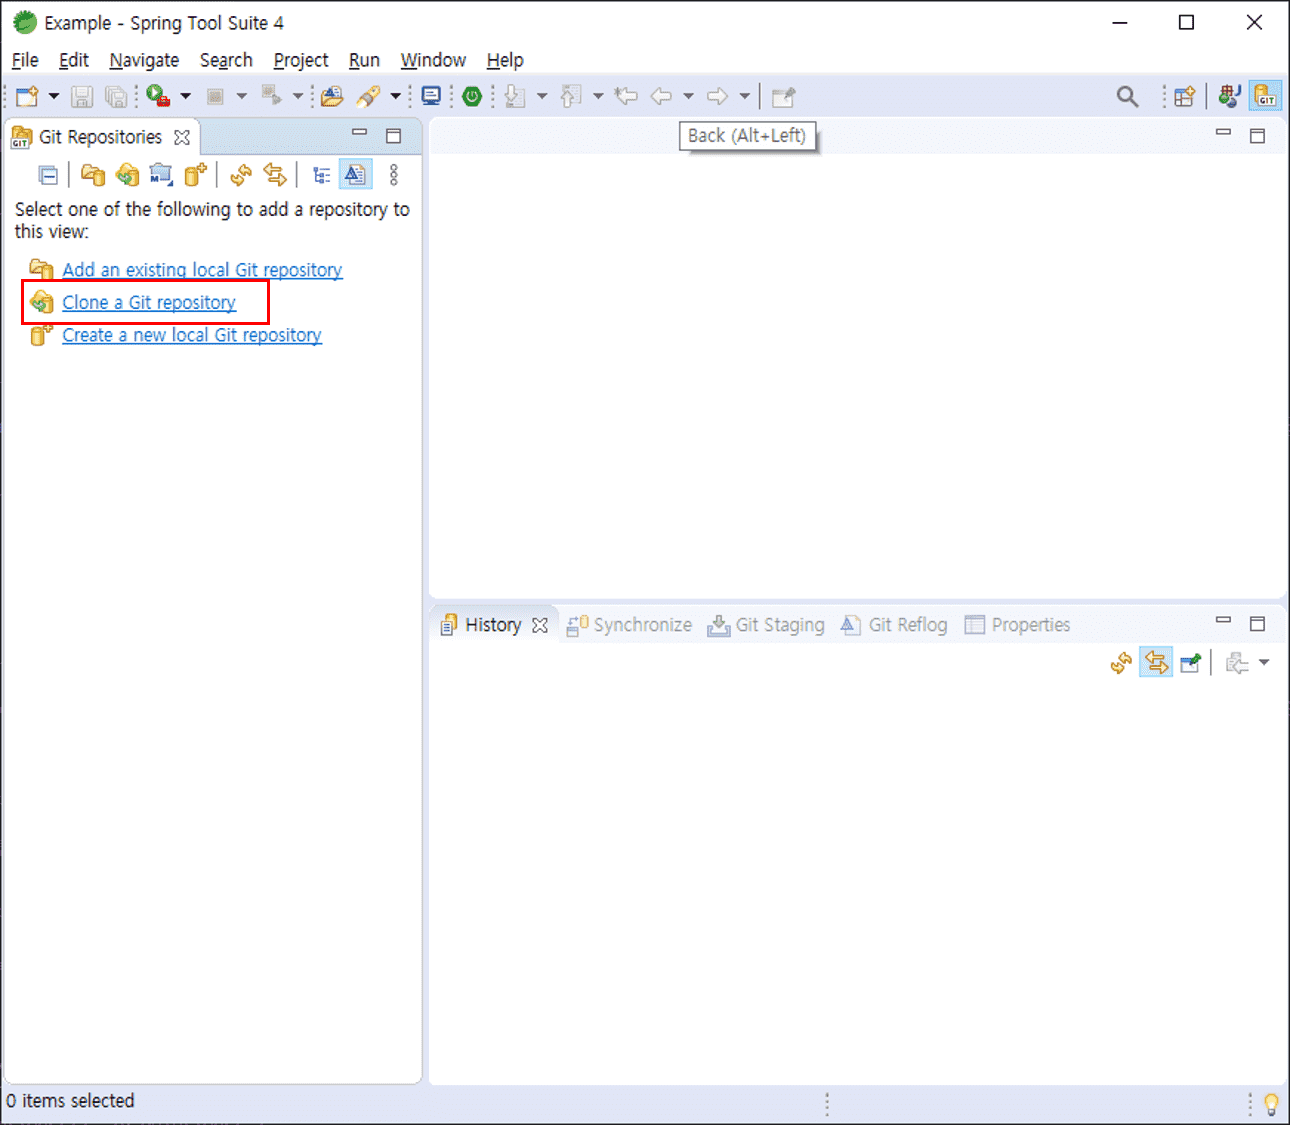
Git을 선택하고 [OK] 버튼을 눌러 활성화시킵니다. Git 퍼스펙티브가 추가된 것을 볼 수 있으며 아이콘을 클릭하면 아래 그림처럼 기본화면이 변경됩니다.

3. 원격저장소 연동
Git 퍼스펙티브 화면에서 [Clone a Git repository] 를 클릭합니다.
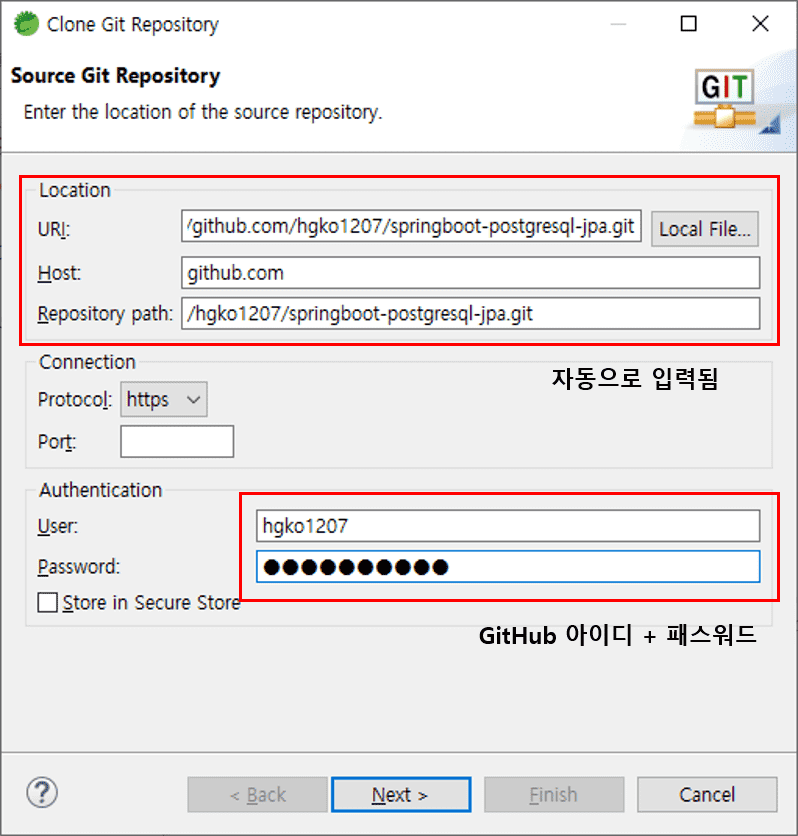
Clone Git Repository 창의 첫 번째 빨간 박스에 앞에서 복사해둔 Git 원격 저장소 주소를 URI 칸에 복사하면 Host, Repository path 칸에 자동으로 입력됩니다. 그 밑의 빨간 박스에는 깃허브 아이디와 패스워드를 입력하고 [Next] 버튼을 클릭합니다.
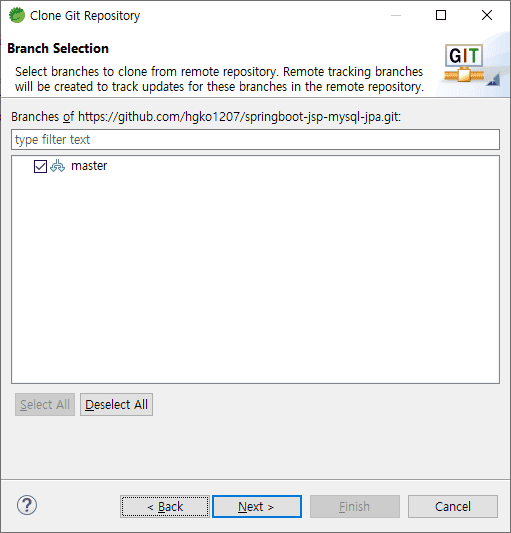
Branch 를 선택하는 화면이 보이는데 Branch를 만들지 않았으므로 그냥 [Next] 버튼을 클릭합니다.
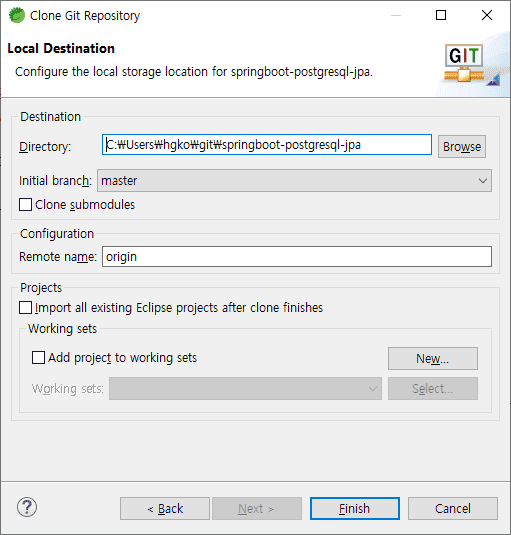
원격 저장소와 연결할 로컬 저장소를 설정한 뒤 [Finish] 버튼을 클릭합니다.
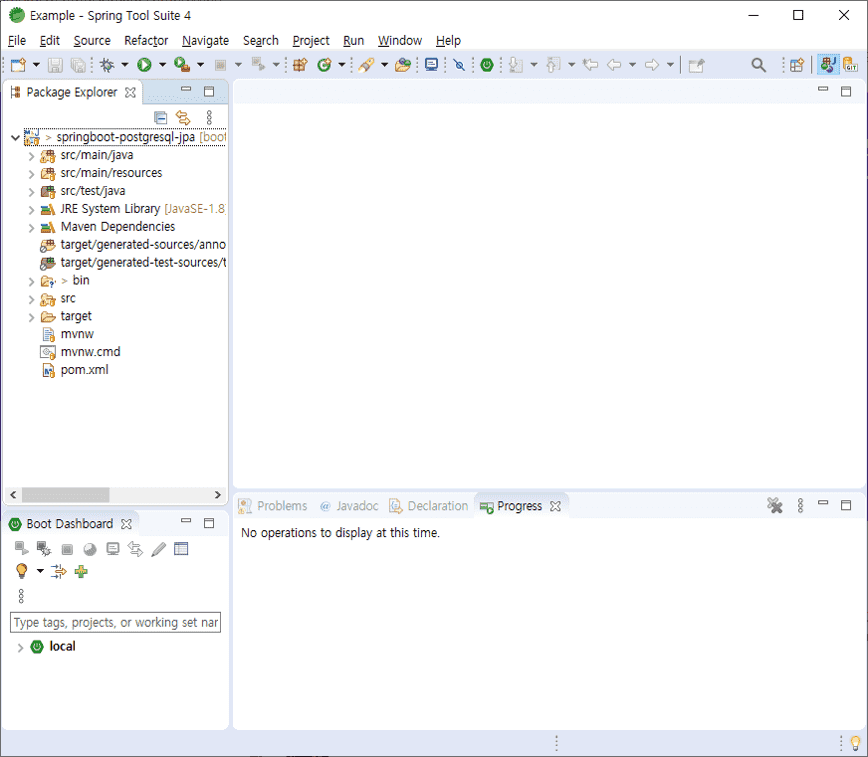
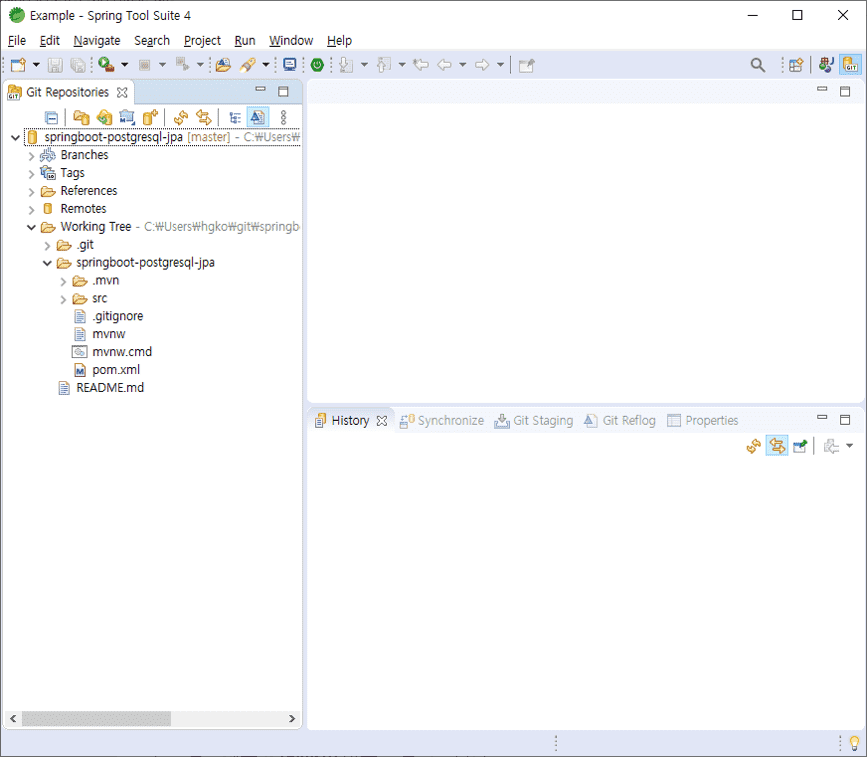
원격저장소가 연동되면 아래 그림과 같이 프로젝트를 확인할 수 있습니다.
4. 프로젝트 내려받기
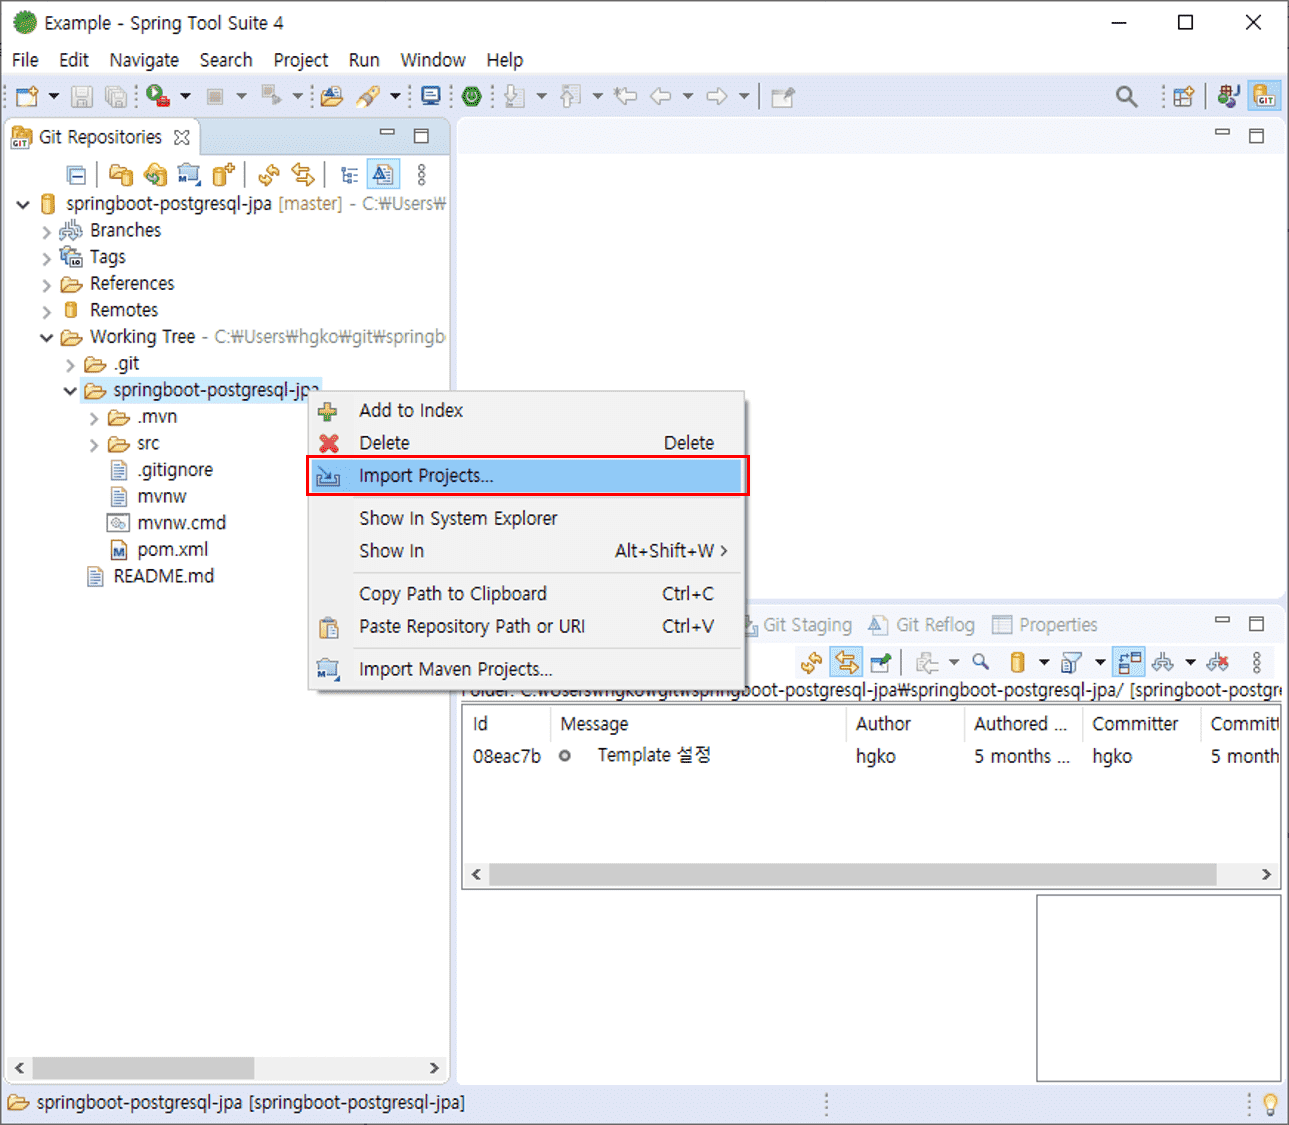
연동된 원격저장소에서 Working Tree -> 프로젝트 선택 -> 우클릭 -> Import Projects 선택을 합니다.
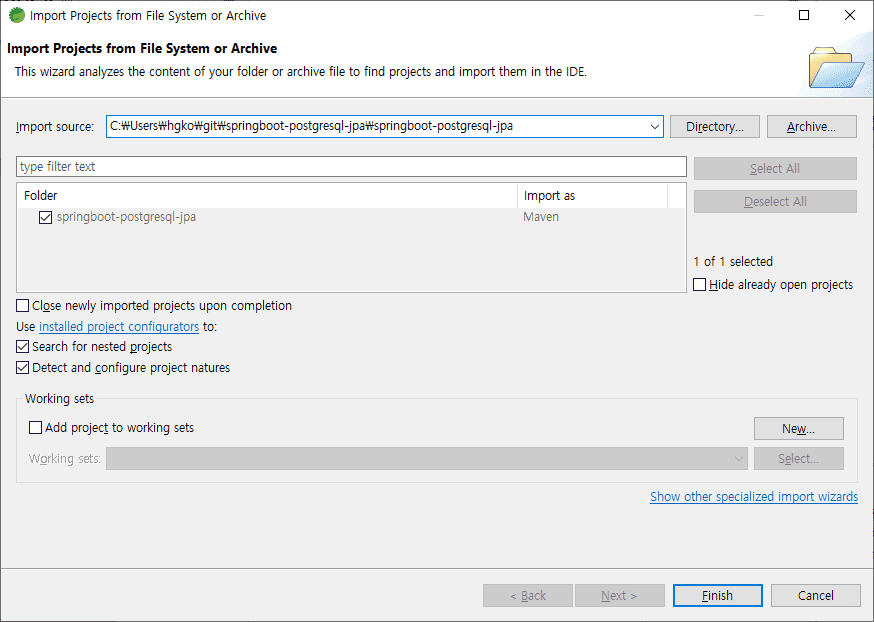
Import Projects 창에서 내려받아지는 경로를 확인 후 [Finish] 버튼을 클릭합니다.
내려받기가 완료되면 프로젝트가 생성됩니다.